Salesforce Data Loader is a desktop client application that allows users to insert, update, delete, and export large amounts of data in Salesforce. It is a free tool provided by Salesforce and can be used by any Salesforce user with appropriate permissions.
In this article, I will demonstrate how to use Data Loader to import data into Salesforce.
I have a CSV file with some fictional Account records that I will add to a Trailhead Playground Org and demonstrate each step with explanations and screenshots.
To follow along you will need to install Data Loader onto your computer if you haven’t already.
Table of Contents
1. Open Data Loader and Login
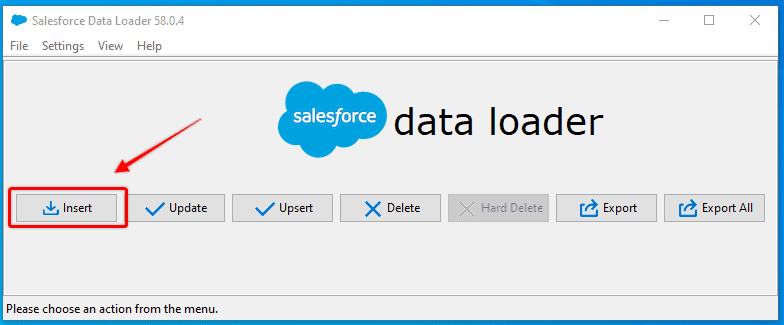
Open Data loader and click Insert . This will prompt you to first log in to the Org that you wish to add new records to.
(This guide will show you how to connect Data Loader to your Trailhead Playground Org if you are having troubles).
RELATED RESOURCE: Getting Data In And Out of Salesforce
2. Select Object and Upload File
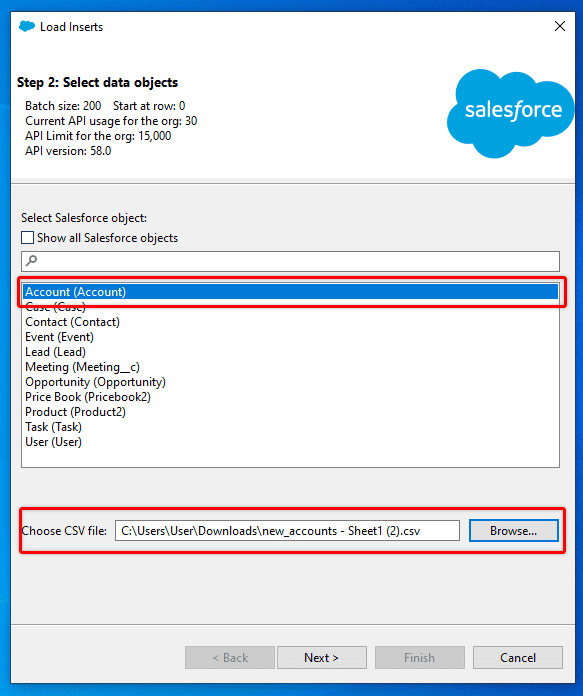
Choose the object that you want to insert new records into and upload the CSV file that includes the new records, then select Next.
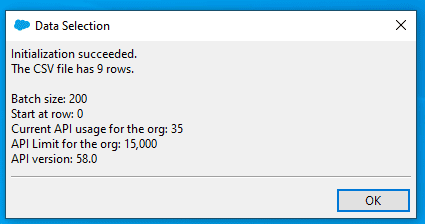
A confirmation message will appear confirming the data upload and how many records, were found.
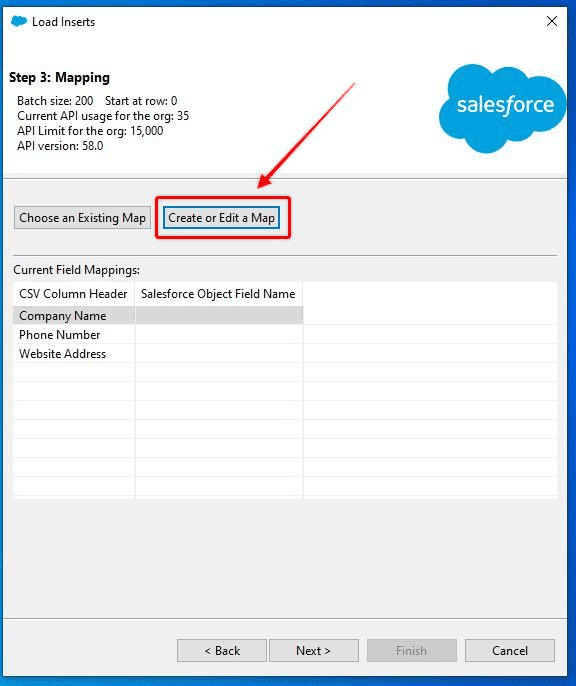
3. Map CSV Fields to Object Fields
The current mapping (or lack thereof) will appear, and you need to choose Create or Edit a Map to adjust the field mapping.
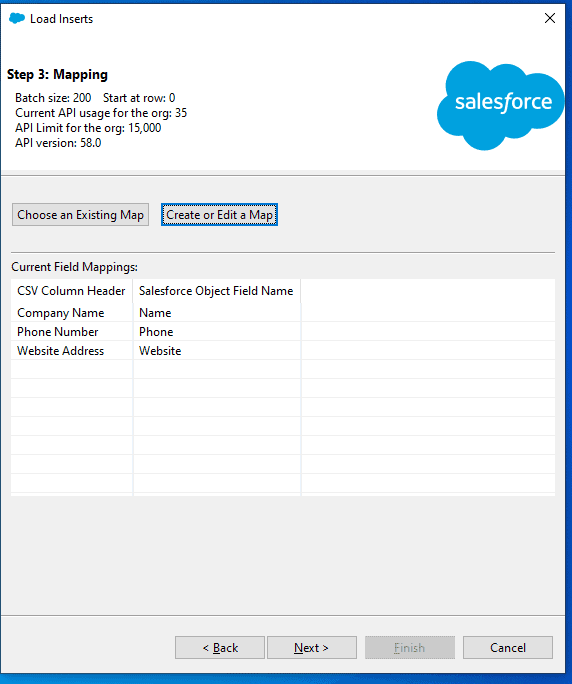
Drag the Object field name from the list down to the corresponding CSV column header, then choose OK.

With mapping updated, select Next.
4. Choose Results Folder
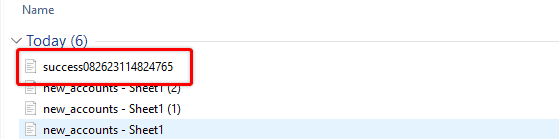
Each insert batch will generate a results report, indicating which records were successfully imported and which ones failed. Select a folder for this report to be saved to, then choose Finish.

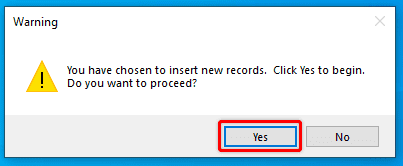
5. Insert The Records
A final confirmation box will appear asking you to confirm the insert operation.
6. Check The Results of Your Import
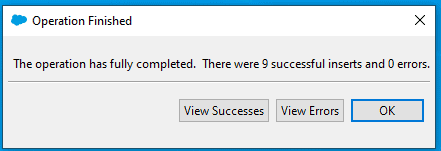
A dialogue box will appear, giving you a high-level overview of the results of the operation you just completed.
A CSV file will also be saved to the folder you selected in previous steps.
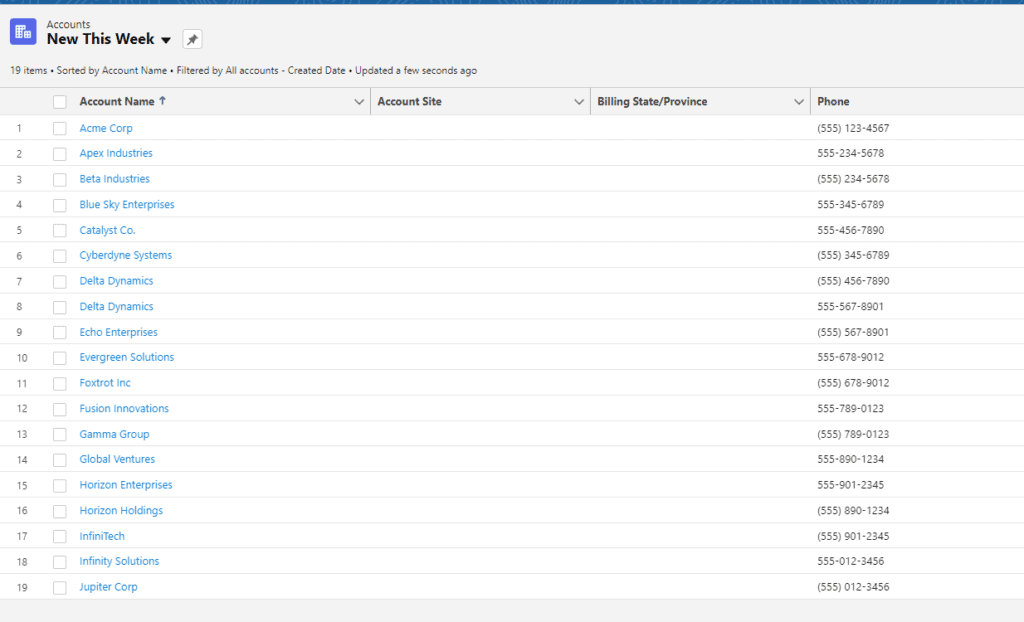
Then one final confirmation is to look at the list of recently added records on the Account Object in my Trailhead Playground Org, and I can see the nine new records added, in addition to the other new records I recently added via other means.