By creating new Lightning pages, you can design them to be more user-friendly and intuitive and meet any business need that arises.
This can improve user adoption and engagement, as users are more likely to use and benefit from a page that is tailored to their needs.
You can also better meet the needs of your business and users, and ensure that your organization is getting the most value out of Salesforce.
Table of Contents
Create A New Salesforce Page
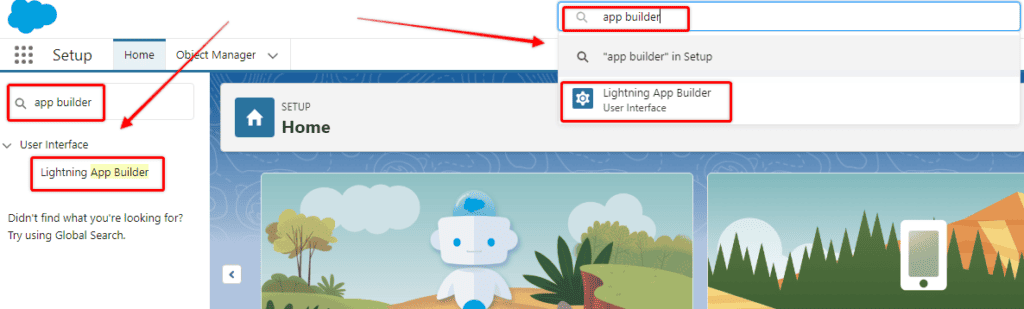
If you would like to create a new Salesforce page, press the Gear icon to open Setup and search for ‘app builder’ in the Quick Find box or Global Search box. Open the Lightning App Builder interface.
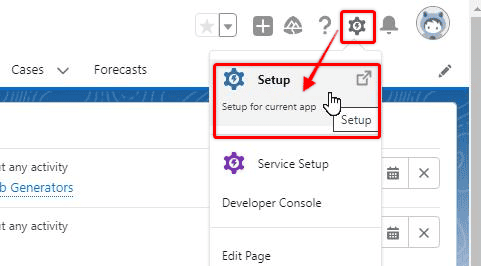
Open Lightning App Builder
Select ‘New’ Page
In the Lightning App Builder, click ‘New’ to create a new page.
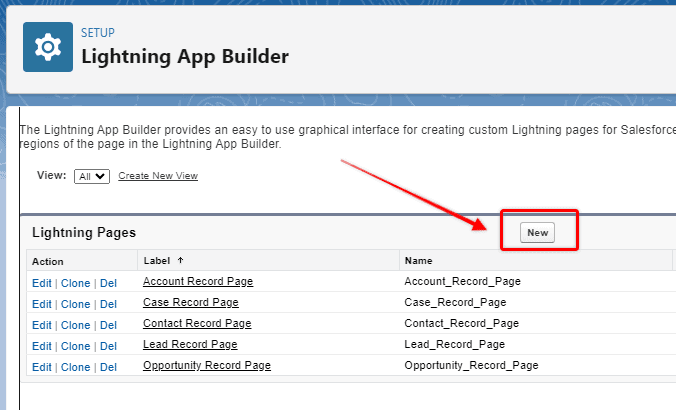
When you click ‘New’, it will take you to the Lightning App Builder canvas, and you will be presented with a New Page wizard to configure details about your new page.
RELATED RESOURCE: How To Customize The Look And Feel of Salesforce
Choose Lightning Page Type
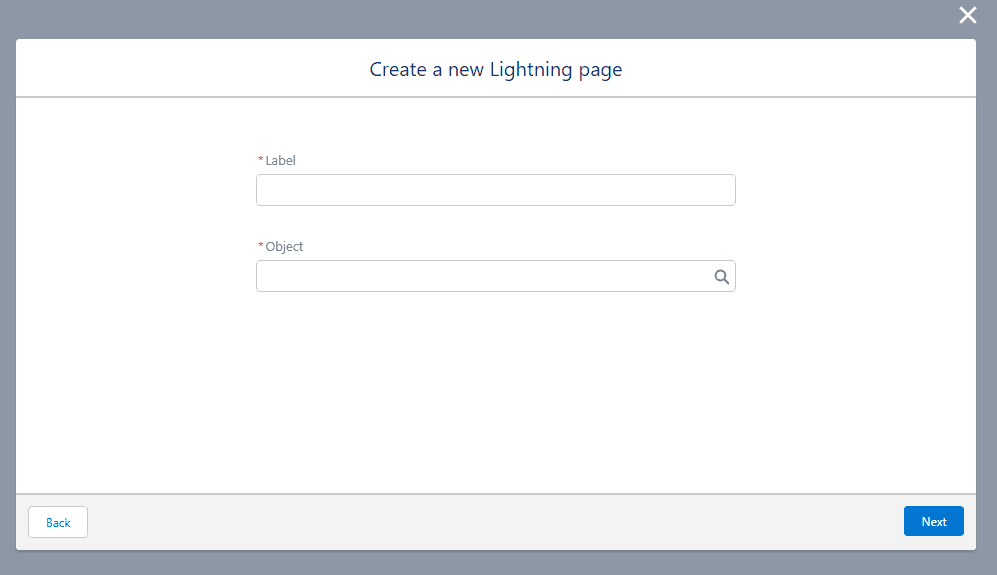
Choose between an App page, Home page, or Record page. For the purpose of this example, I will create a new Record Page.
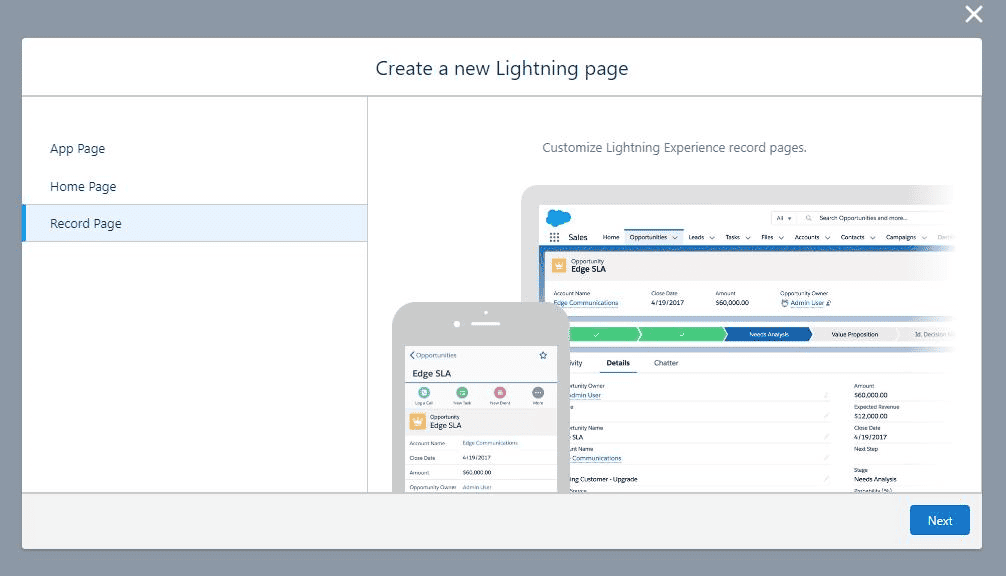
Give the page a label, and select which Object, the Record page is based on.
Select Page Template
Choose the desired Page Template.
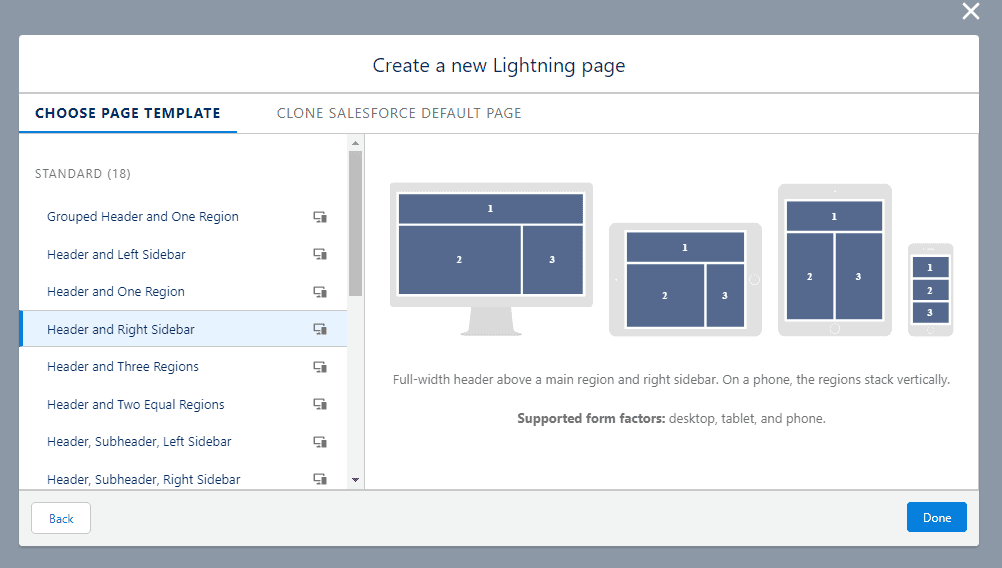
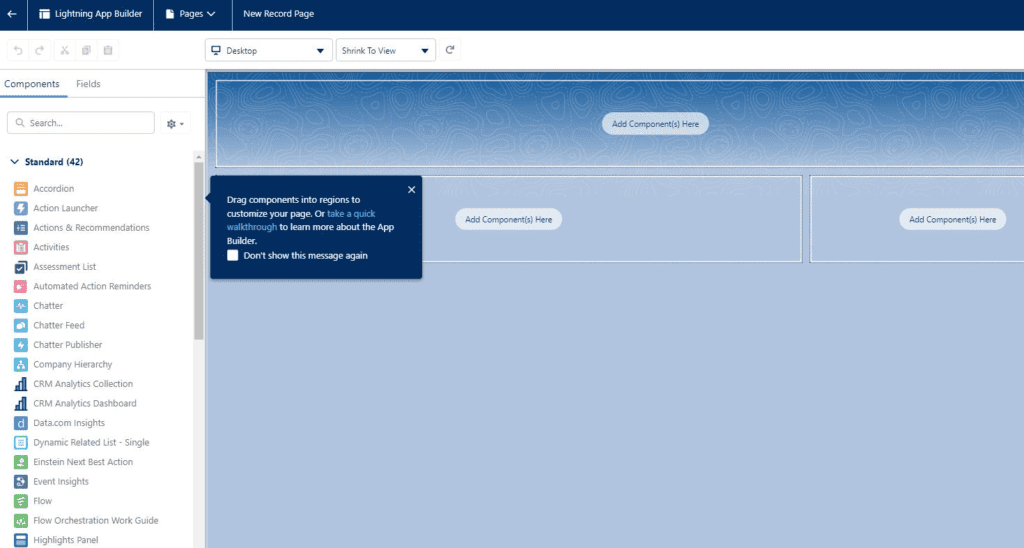
Once your template has been selected you will be presented with an empty page canvas based on the chosen template.
A Help Wizard appears that can give you detailed guidance and instructions, or you can start adding components to the canvas immediately and arranging them to your preference.
Arrange Lightning Components On The Page
The page builder has a variety of buttons and lists in the top menu bar that help you with your customization (Cut/Paste, Responsive View, Activation, and Save), but the core function of the page lies in the three regions that take up the majority of the screen.
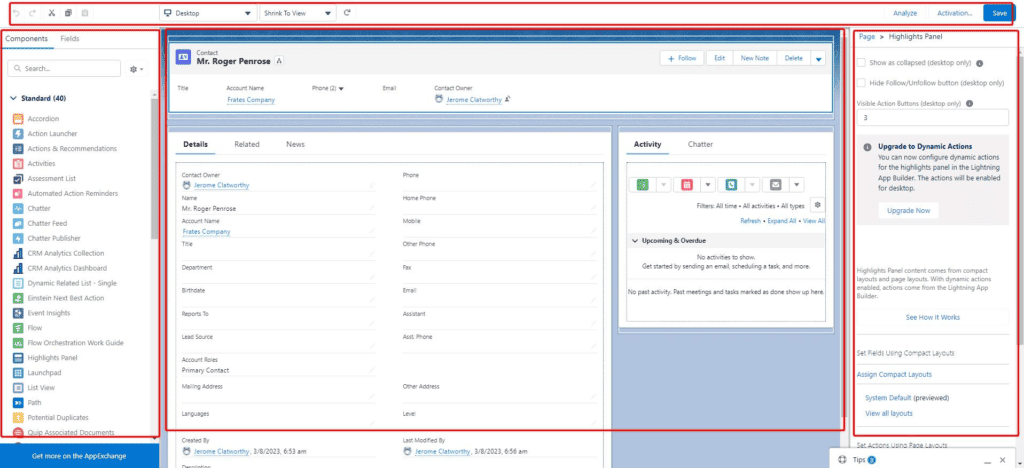
The column on the left-hand side lists the available components that can be inserted into your Salesforce page.
There is a ‘fields’ tab as well, where you can drag individual fields, onto some of those components that you add to the page.
The middle section is the drag-and-drop view of the page you are working on. You can drag, delete, and add new elements to this canvas and see the changes in real-time.
The column on the right-hand side is where you configure the individual components on the page canvas.
Whichever component on the page is selected will have its configurable details available on the right-hand side and you can also adjust the visibility of each component based on a variety of very usable filters.
KEY CONCEPT
Keep in mind, that certain components on the page cannot be fully customized further within the page builder app, and need to have changes made in the Object Manager area.
For example, the Record Highlights Panel, and Record Detail component draw their detail from settings on the Object Manager, rather than Lightning App Builder.


The best way to get to know the page builder is to practice and experiment. Within just a few minutes, you’ll get the hang of basic component management and detail updates.
Saving and Activating Your New Salesforce Page
There is a big difference between saving and activating a new Salesforce. Saving a page will store your changes, and ensure you don’t lose all of the work you have done, but the page won’t be available to other users. You can continue saving, and working on your page while you get it to the standard you want.
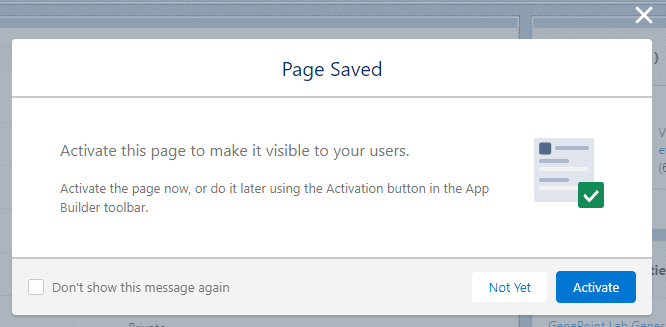
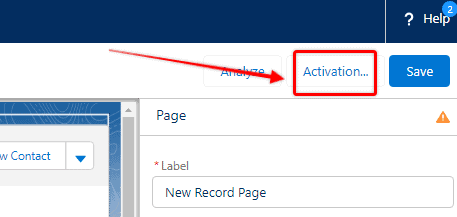
When you are satisfied with your page and ready to make it available to users, click ‘Activation’ from the top right-hand corner.
Salesforce pages can be assigned as default pages for your whole Org, for a specific App, and for specific record types and profiles. You can read in detail about page assignments in this Salesforce Help article.
For a record page, unless you assign the page to be the default for the Org/App/Type/Profile, will not be visible to users.