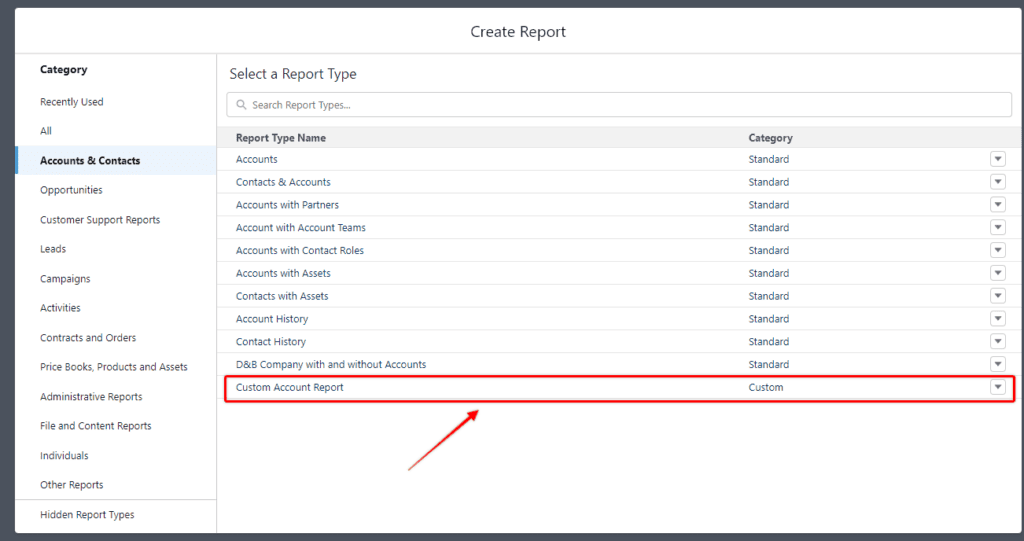
By default, Salesforce creates report types for the standard Salesforce objects, which give you a range of reports with preset fields, filters, and object combinations.
However, if you create Custom objects in your Salesforce Org and want to report on those, you will need to create corresponding report types.
Custom report types can also be used to create new reports for standard Salesforce objects, or any combination of standard and custom objects as long as the objects are related.
KEY CONCEPT
For a custom object to be included in a custom report, then the ‘Allow Reports’ permission must be enabled on the object and the user setting up the custom report will need the ‘Manage Custom Report Types’ permission.
Before creating your custom report, take a few minutes and sketch out which object you want to include and which fields from each object you need. You cannot include any objects you want. The objects included need to be related with either a master-detail or lookup relationship.
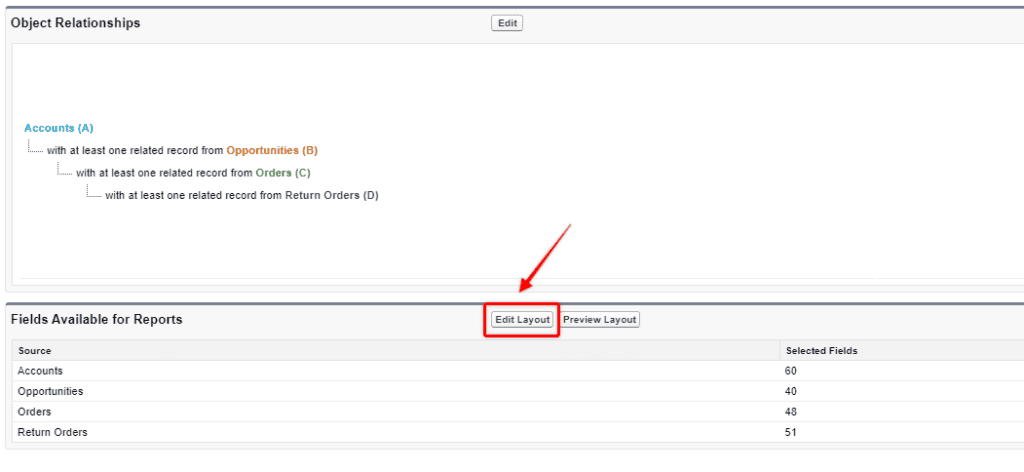
A custom report can include up to four objects, but each object must be related to a corresponding object.
i.e. If I want to include objects A, B, C, and D in a custom report type, then object A must have a relationship to object B, B must have a relationship to C, and C to D.
There is no need to try and memorize the way in which objects need to be related on a custom report type as the report builder, will prevent you from creating a new report that does not meet these requirements, I’m just explaining it so you are aware of the limitation you will encounter.
Table of Contents
Creating a Custom Report Type
1. Access Setup
Log in to your Salesforce account and click the ‘Gear’ icon in the top right-hand corner of your screen to access Setup. Then click ‘Setup’.

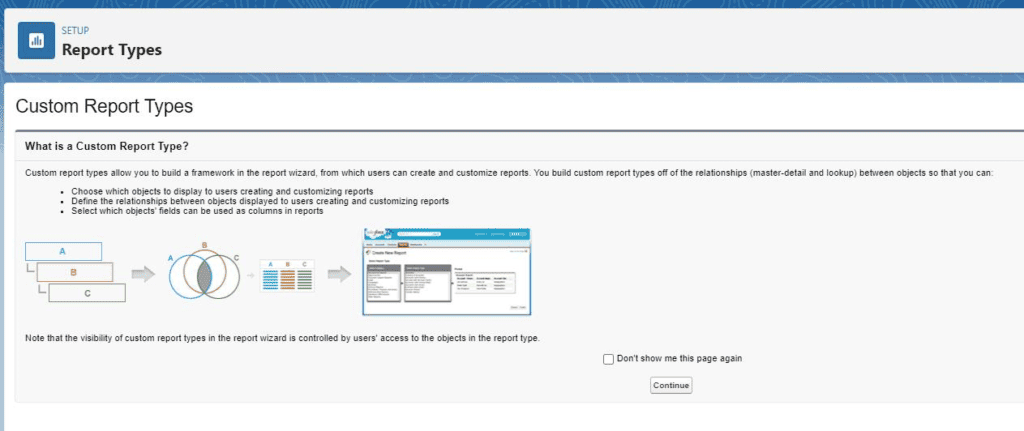
2. Search ‘Report Types’
Search for ‘Report Types’ in the quick find box, and click on the associated menu option to open up the report type wizard.

RELATED RESOURCE: Getting Data Driven Insights Using Salesforce Reports
3. Set Up Your Custom Report
Select a Primary Object for your report, and give it a name, description, category, and status of ‘In Development’ until your report is built, tested, and ready to be used by yourself, and other Salesforce users.
Once you have selected a primary object, you can stop there and finish your report type, or you can proceed to add further related objects.

You will be able to add up to four custom objects. Each time you add a new related object, the options you can choose from will automatically be filtered by other objects that have a relationship to that object. Once you add a fourth related object you will receive a message that your ‘Object Limit Is Reached’.

As you increase the number of related objects included in your report, the number of records that the report will capture will decrease. Because each record will need to have a connection (A > B > C > D).
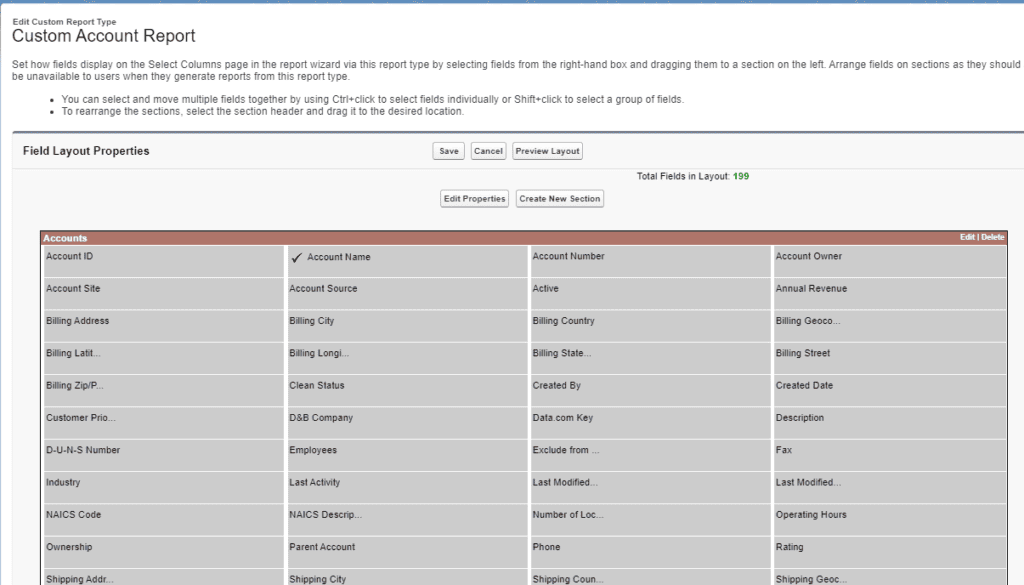
You can configure the fields that are included in the report by default by clicking ‘Edit Layout’.
Select which fields you want to include for each object, then Save the changes.
Once you are happy with the selected objects and fields ‘Edit’ the object, and Change the status from ‘In Development’ to ‘Deployed’ and ‘Save’.
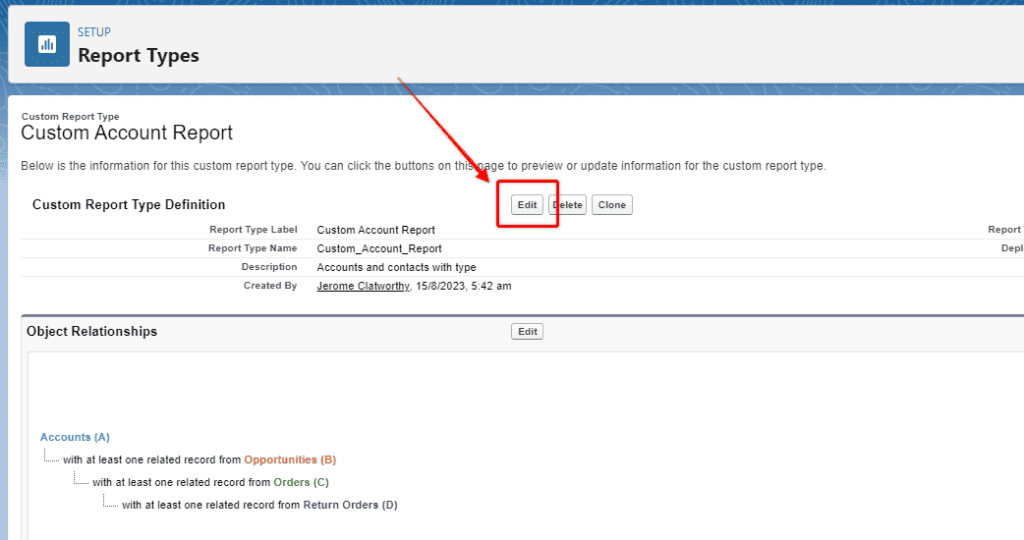
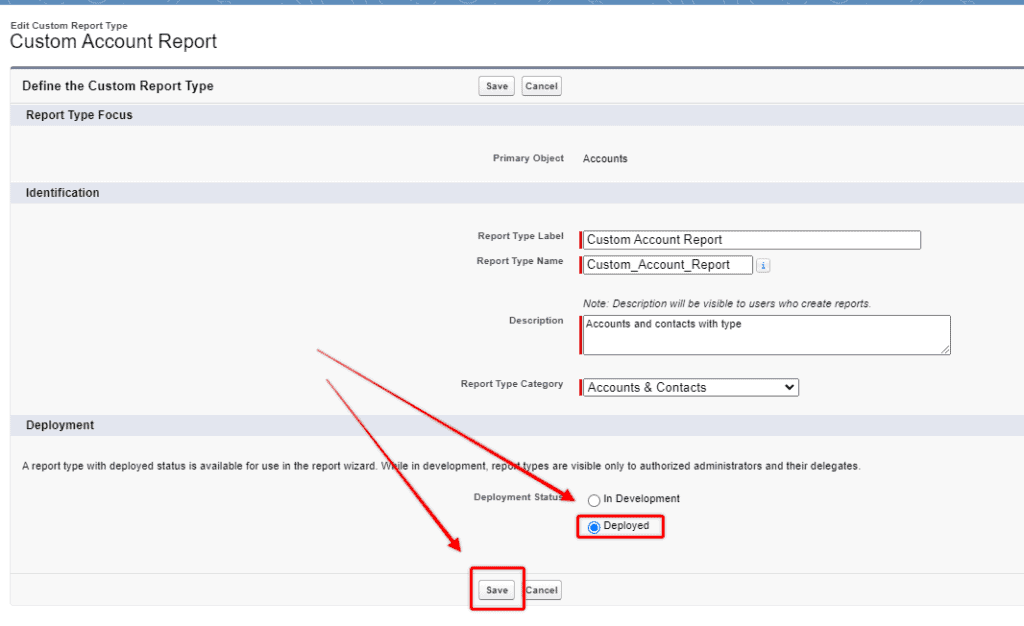
Once you have changed the status of your new customer report to ‘Deployed’ and saved it, your new report will be available in your report builder for use.
